
DIY Electric Product Installation: A Step-by-Step Guide


Understanding DIY Electric Product Installation
Installing electric products by yourself can be a fulfilling and cost-effective way to enhance your home. Whether you're setting up a new light fixture or installing a smart thermostat, understanding the basics is crucial. This guide will walk you through the essential steps to ensure a smooth and safe installation process.
Safety should always be your top priority. Before starting any electrical project, make sure you have the necessary protective gear, such as insulated gloves and goggles. Always turn off the power supply from the main circuit breaker to prevent accidents.
Gathering the Right Tools and Materials
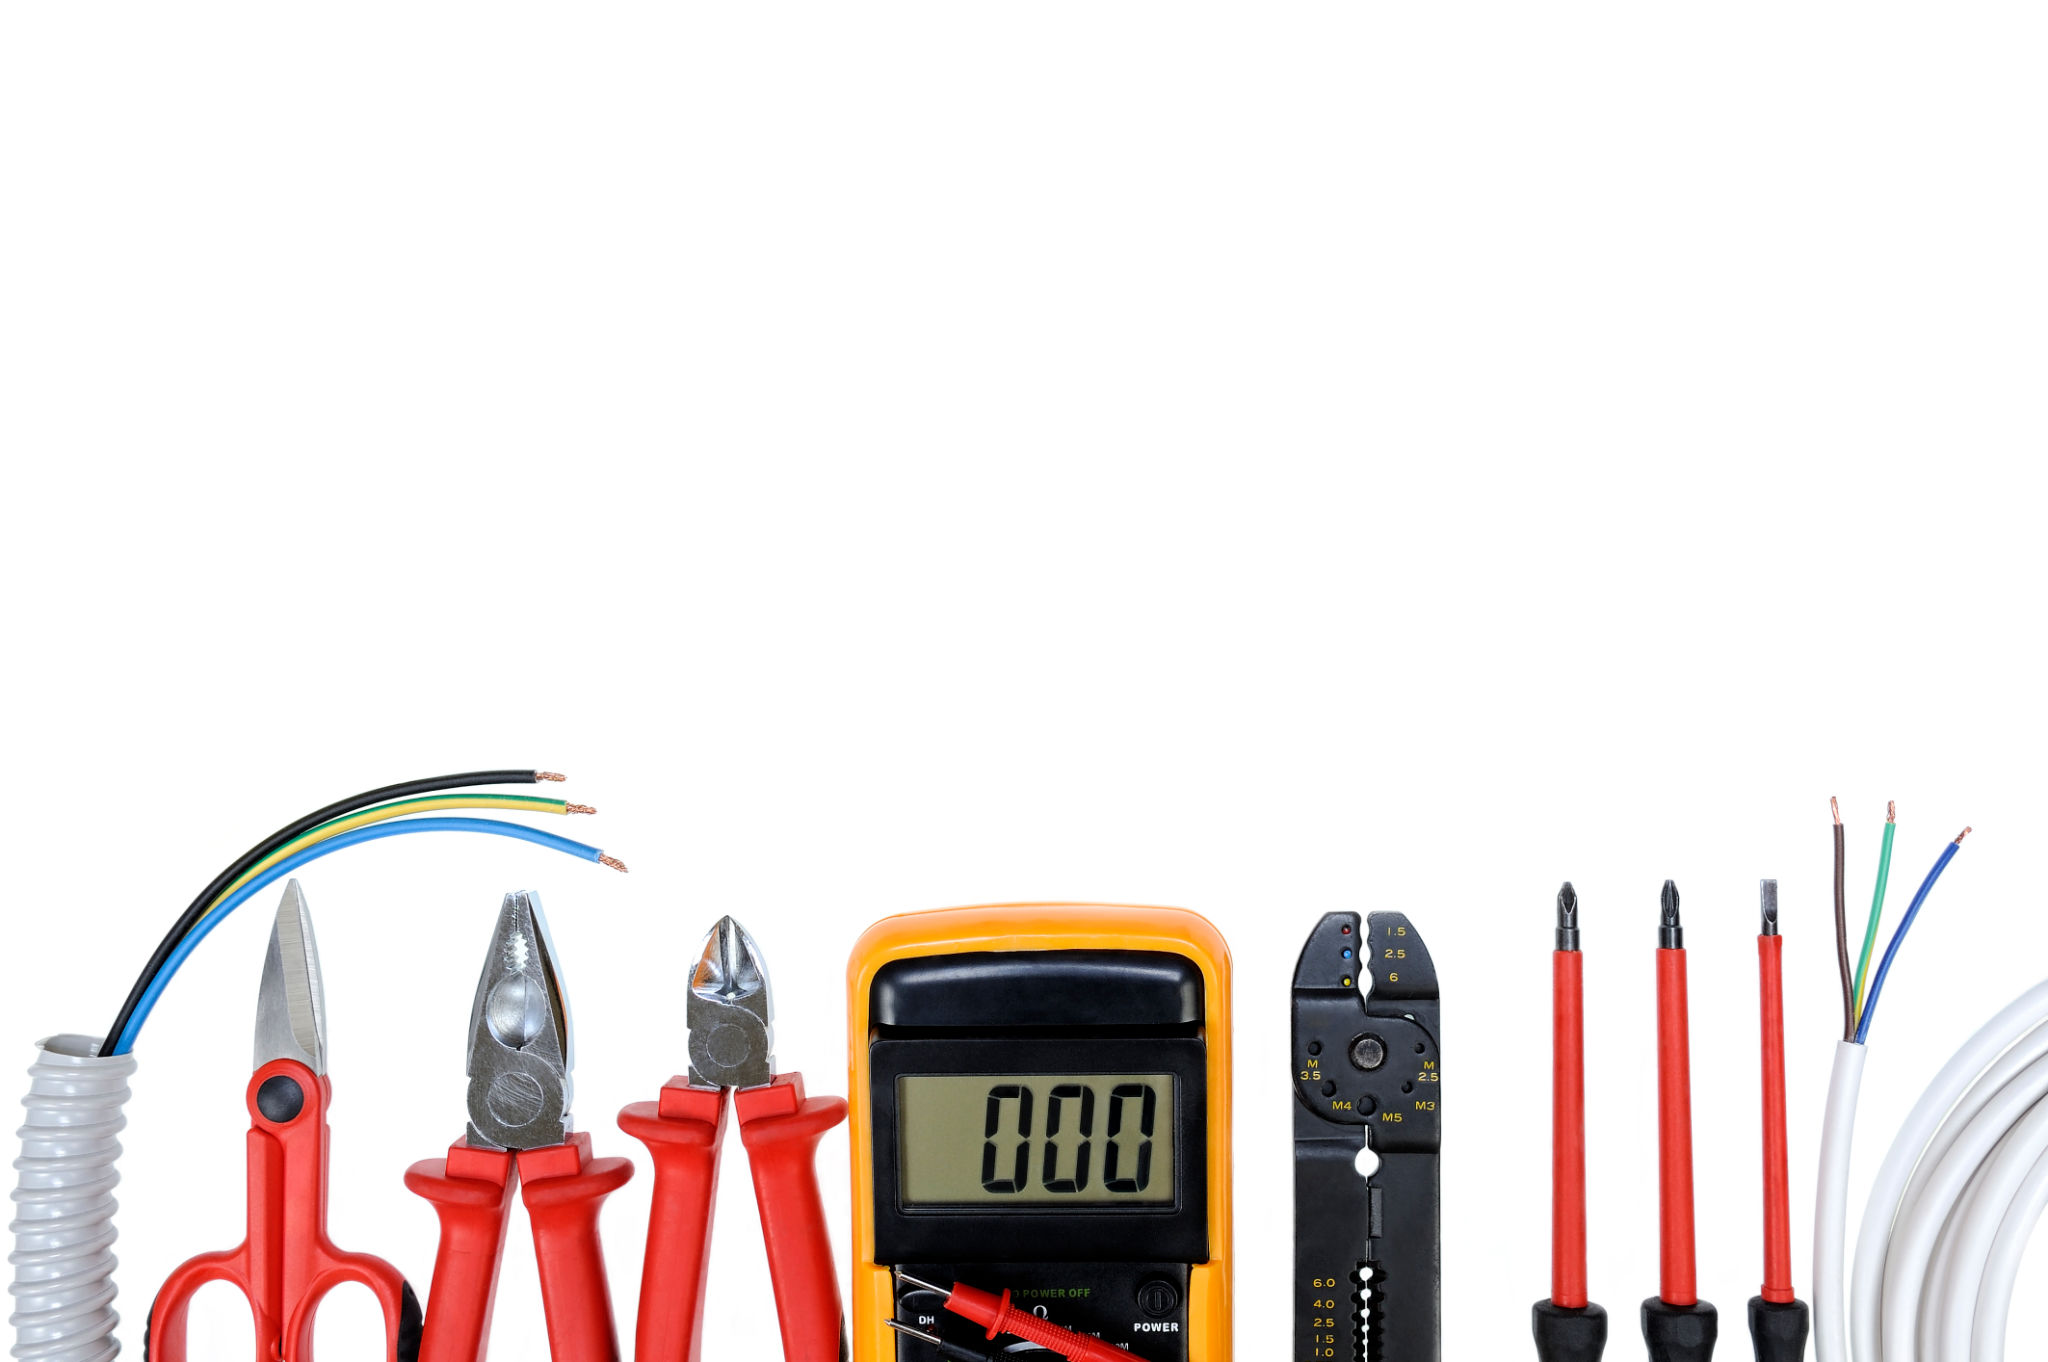
Before you begin, gather all the necessary tools and materials. A typical DIY electric installation project may require:
- Insulated screwdrivers
- Wire strippers
- Voltage tester
- Circuit tester
- Electrical tape
Having everything at hand will make the process more efficient and reduce the need for last-minute trips to the hardware store.
Preparing the Installation Site
Once you have your tools ready, the next step is to prepare the installation site. Clear the area of any obstacles and ensure it's well-lit. This will help you work more comfortably and reduce the risk of errors.
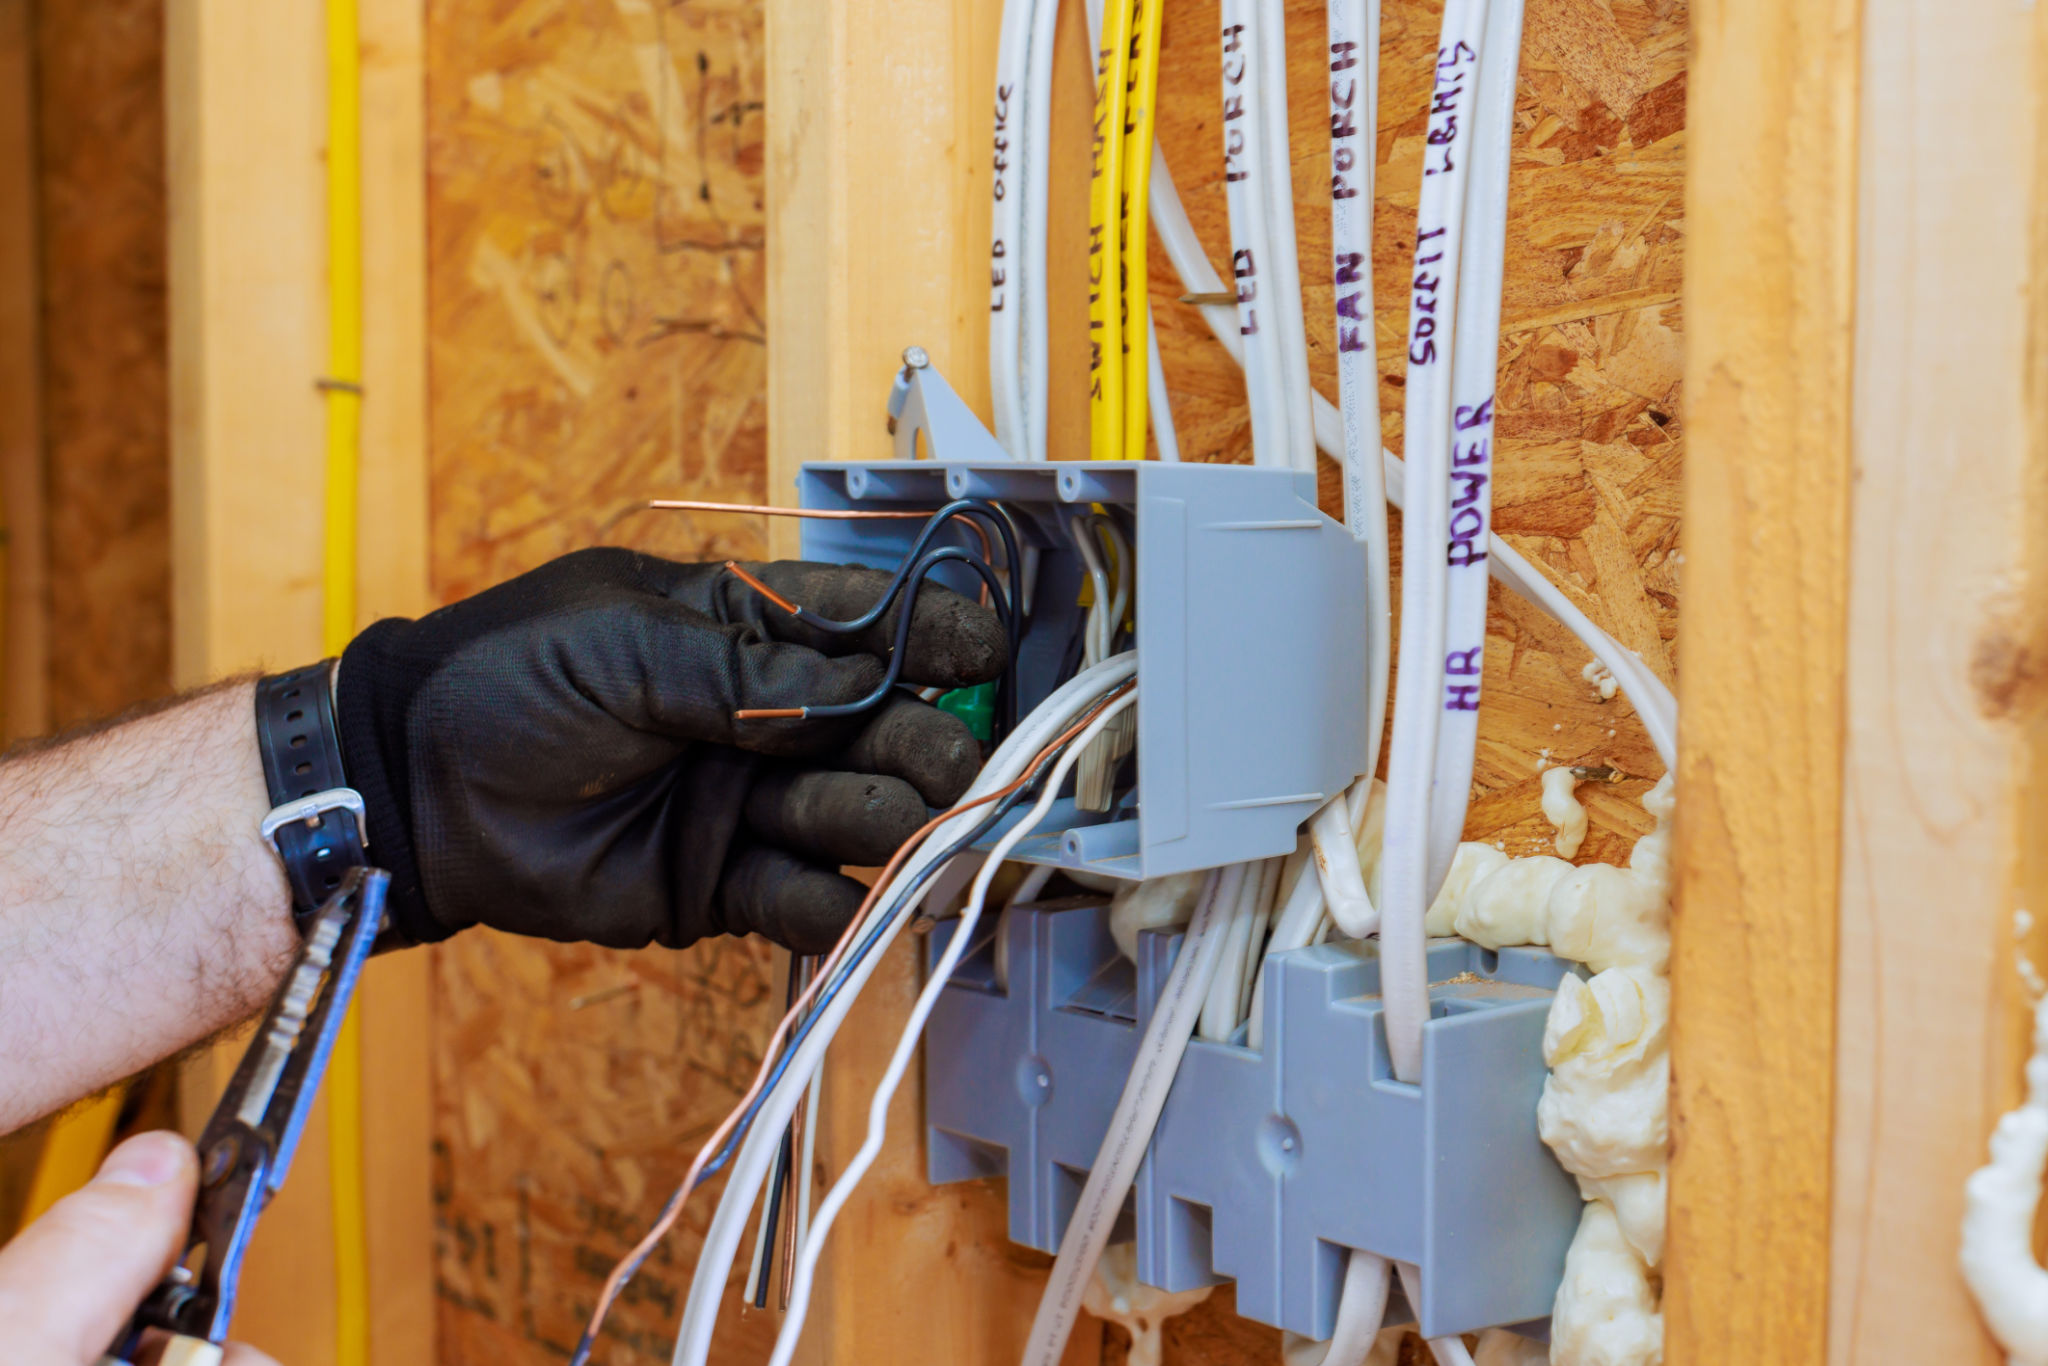
Check the existing wiring to ensure it's in good condition. If you notice any frayed or damaged wires, they should be replaced or repaired before proceeding. This is essential to avoid potential electrical hazards in the future.
Step-by-Step Installation Process
Now that you’re prepared, it's time to start the installation. For this guide, we'll outline a basic process that applies to most electric installations.
- Turn off the Power: Double-check that the power is off using a voltage tester. This is crucial for your safety.
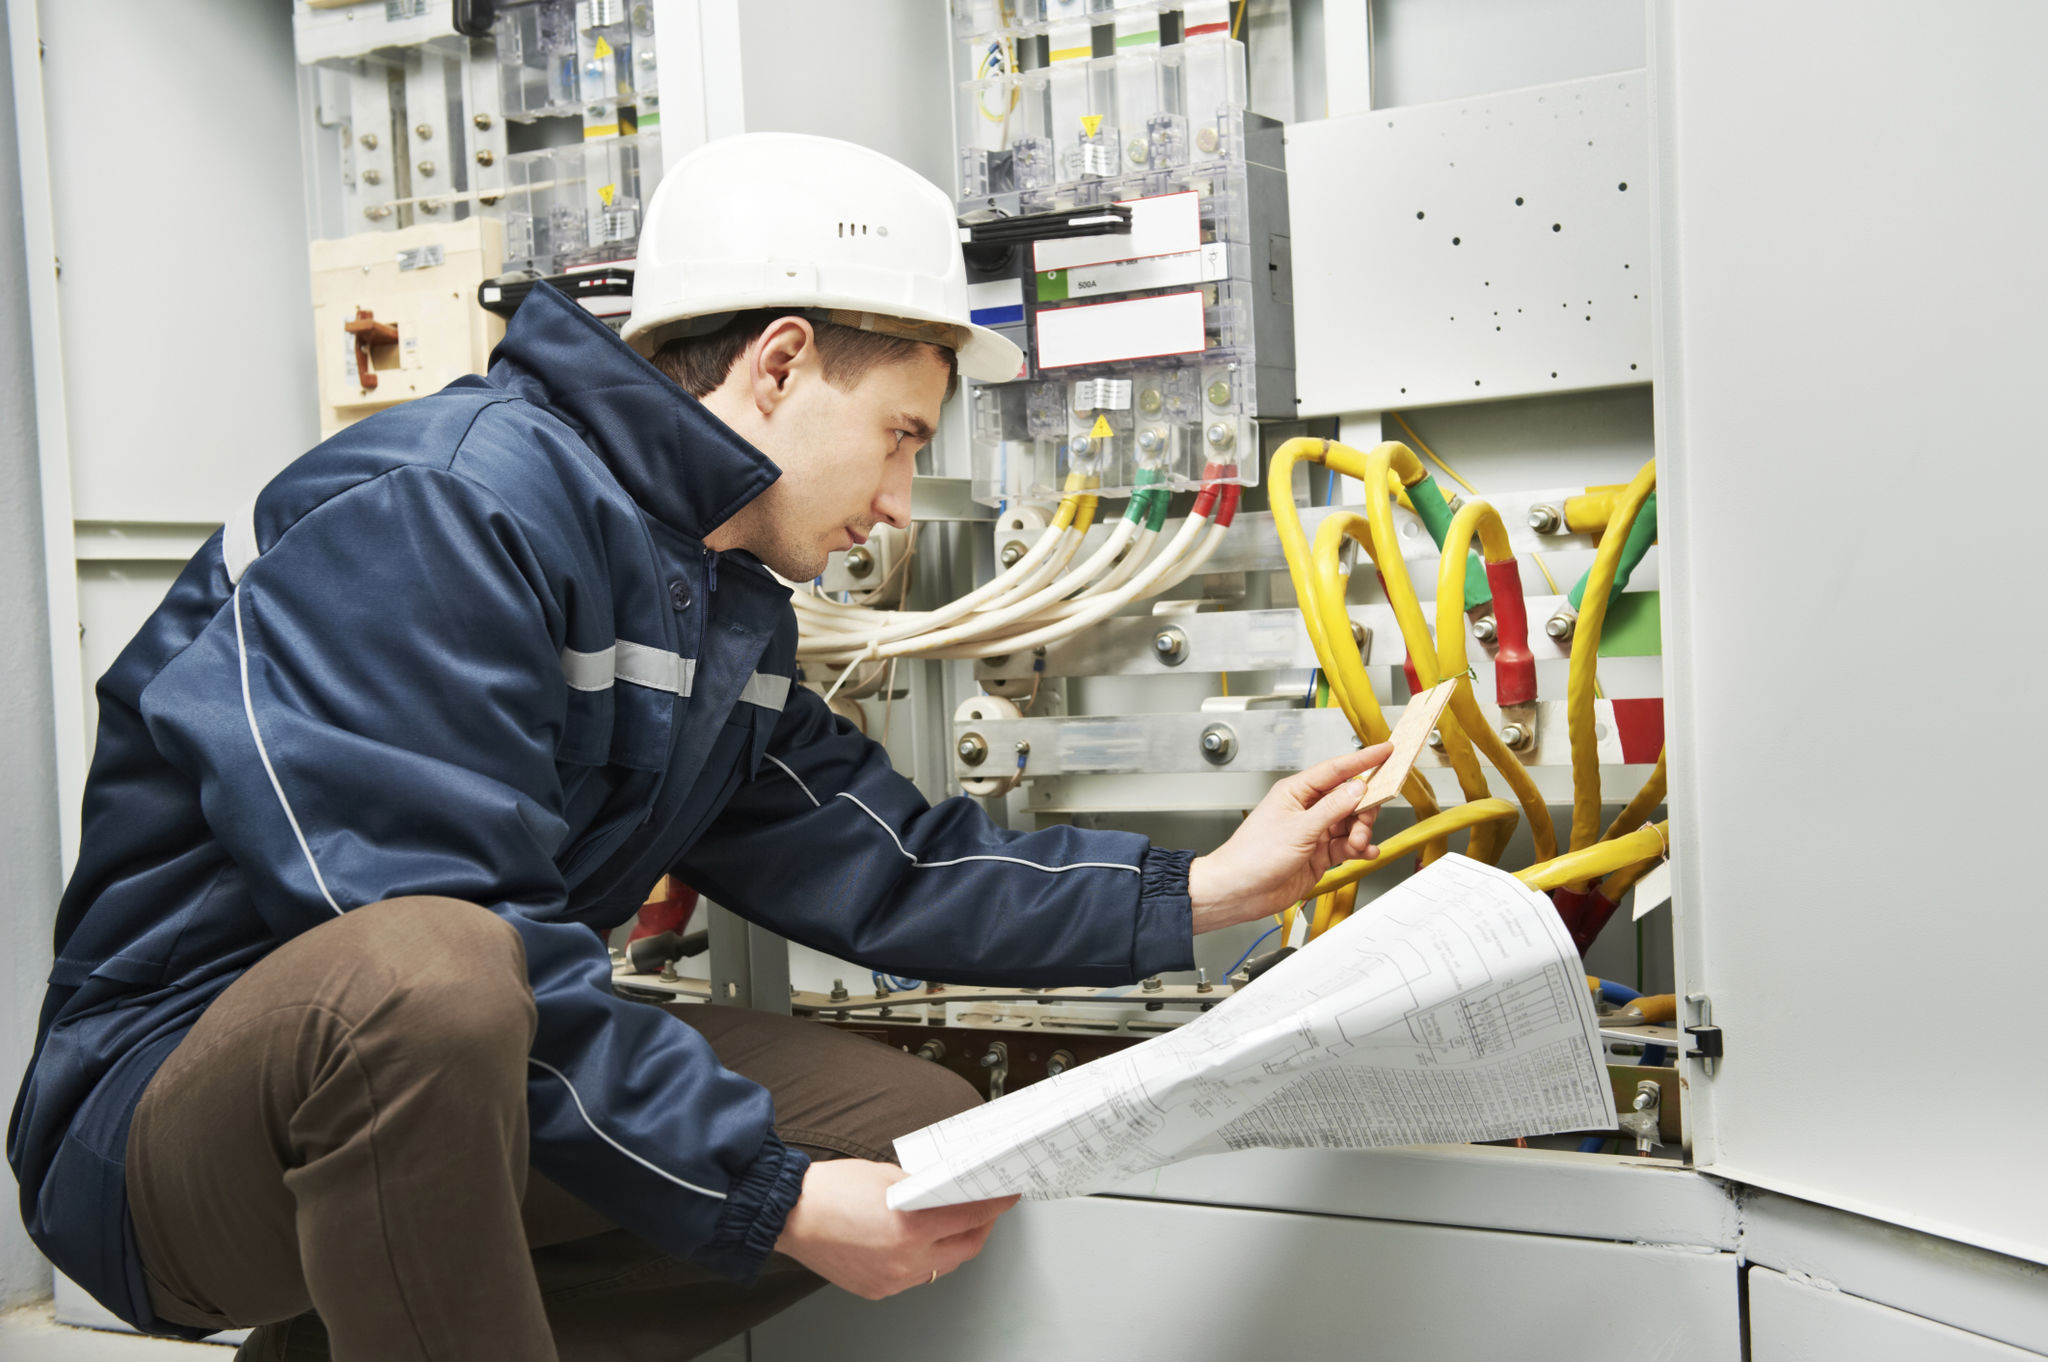
- Read the Instructions: Carefully read the product's manual. Each device may have specific requirements or steps that need to be followed.
- Connect the Wires: Match the wires from your device to the corresponding wires in your home. Typically, black or red wires are live, white is neutral, and green or bare wires are ground.
- Secure the Connections: Use wire nuts to secure the connections and wrap them with electrical tape for added safety.
- Test the Installation: Once everything is connected, turn the power back on and test the device to ensure it works correctly.
Troubleshooting Common Issues
If the device doesn’t work as expected, don’t panic. Double-check all connections and ensure they are secure. Use a circuit tester to verify that electricity is reaching the device. If issues persist, consult the product manual or seek professional help.
Sometimes, the problem might be with the product itself. In such cases, contacting customer support for assistance or a replacement might be necessary.
Final Thoughts
DIY electric product installation can be a rewarding experience, but it requires careful planning and attention to detail. By following the steps outlined in this guide, you can ensure a successful and safe installation.
Remember, when in doubt, it's always best to consult with a professional electrician. Safety should never be compromised. With the right approach, you can enjoy the benefits of your new electric product with confidence.